Knee pain does not care how much you love your garden. You can be on your third bed of the day, finally getting to those weeds that have been bothering you for two weeks, and your knees will shut the whole session down. I know that pattern. I spent two seasons ignoring it and paying for it the next morning. What changed things for me was not a doctor visit or a cortisone shot. It was learning that most garden knee pain is preventable with the right setup, the right gear, and a few habits you build into every session.
This guide walks through the five steps I now follow every time I get down in the dirt. I cover warm-up, positioning, kneeling support, session pacing, and recovery. The Worth Garden Kneeler and Seat is the tool I use for most of this. It is not magic and I will not pretend it is. But it is the single piece of equipment that changed how long I can work and how I feel the next day. If you want the full breakdown on that kneeler before you buy, I have a detailed writeup at my garden kneeler seat review and a comparison against a plain foam pad at kneeler seat vs foam pad. This article is about the whole system, not just the gear.
Your knees are already sore from kneeling on bare ground. This is the fix.
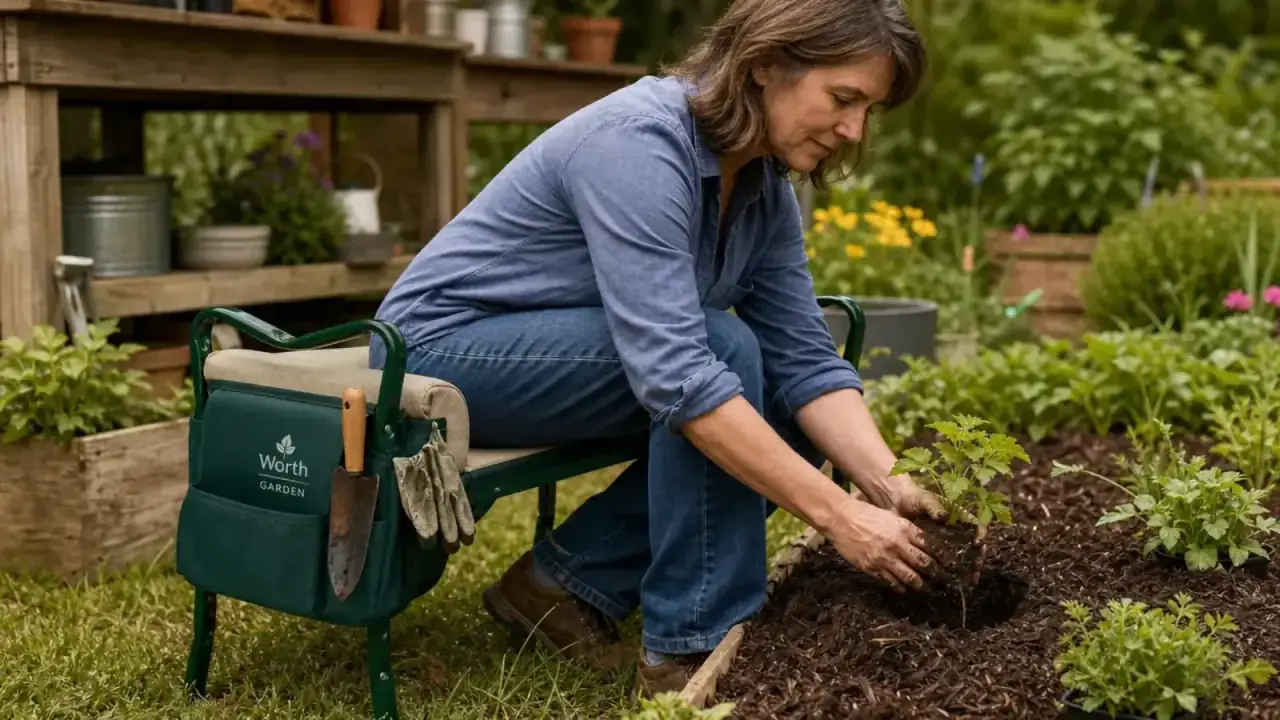
The Worth Garden Kneeler and Seat (ASIN B01EIOXTLK) flips from a kneeling pad to a garden bench in seconds. Rated 4.7 stars across 7,000-plus reviews. It is the one piece of gear I recommend to every gardener who mentions knee fatigue.
Amazon Check Today's Price on Amazon →Step 1: Warm Up Before You Kneel
Kneeling cold is one of the main reasons gardeners end up with swollen, stiff knees after an hour outside. Cartilage needs synovial fluid around it to cushion movement, and that fluid does not distribute well when you drop straight from sitting at the breakfast table to kneeling in the dirt. Five minutes before you go out, do two or three sets of slow knee bends, just bodyweight squats down to about a 90-degree bend, hold for two seconds, stand back up. Add a calf stretch against the porch railing. That is it. Nothing athletic. You are just telling your joints what is about to happen.
If you have an existing knee condition, mild osteoarthritis, or a previous injury, warming up is even more important. The synovial fluid issue is worse in damaged cartilage. Some gardeners I know do a short walk around the yard first, not for fitness, but to get the joints moving before they ask them to bear weight at an angle. Either approach works. The point is you do not want to be doing your first load-bearing knee flex of the day two inches above hard soil.
Step 2: Get the Right Surface Under Your Knees
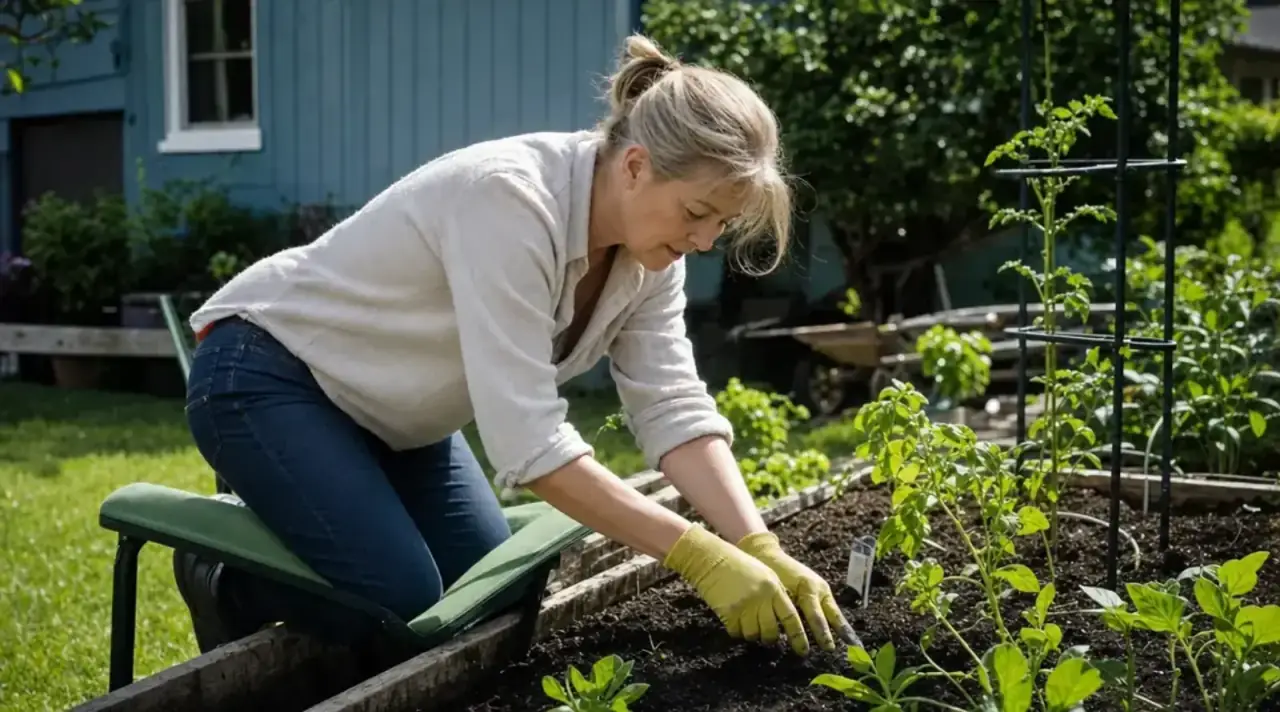
The surface your knees contact changes everything. Bare soil sounds soft until you are working one spot for ten minutes and the compaction has concentrated all your weight onto two points roughly the size of golf balls. Concrete or gravel paths are obviously worse. Even a folded-up old towel is better than nothing, but it shifts, gets dirty, and offers maybe half an inch of real cushioning. What you need is two to three inches of dense foam that stays where you put it and does not bottom out.
The Worth Garden kneeler uses a thick foam pad that stays firm enough to support your weight without compressing to nothing after five minutes. What I also use it for is positioning: I can kneel on the padded side when I am pulling weeds from the bed edges, then flip it upright and sit on it as a low bench when I am working in the center of a raised bed. That flip takes about two seconds. No other pad I have owned does both, and the bench height is just right for raised beds that sit 12 to 16 inches off the ground. The side handles let you push up to standing without putting any torque on your knees, which matters more the longer your session goes.
Step 3: Fix Your Kneeling Position
Most gardeners kneel with their weight unevenly distributed and their spine curved forward over the work. Watch yourself next time in a reflection or have someone check. The common pattern is both knees on the ground, torso bent at 45 degrees or more, shoulders forward, neck bent down. That position compresses the front of the knee joint and puts the kneecap under constant load at an unfavorable angle. You will feel it within 20 minutes.
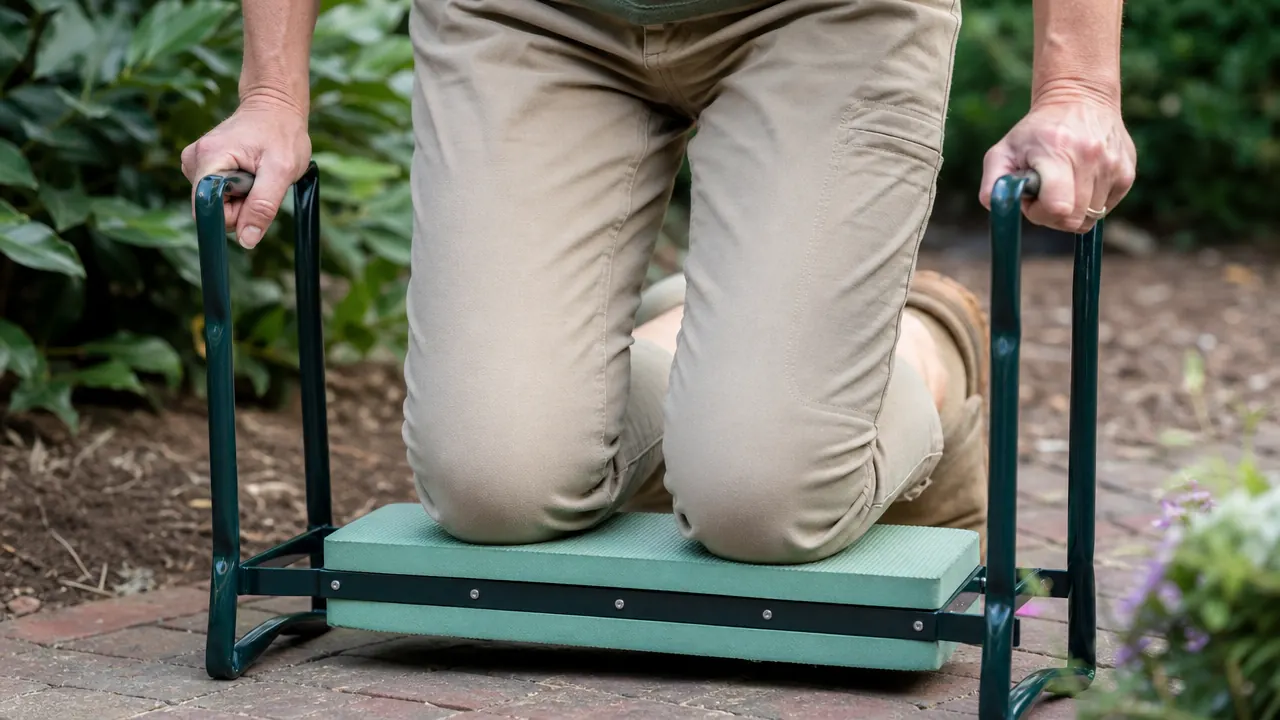
Better position: kneel on one knee at a time when the task allows, with the other foot flat on the ground in a half-kneeling stance. Rotate which knee you are down on every few minutes. When both knees are down, keep your spine more upright and bring the work toward you rather than leaning into it. Use the handles on the kneeler to take weight off your knees periodically, just a slight push with your hands for a few seconds of relief. Shorter holds with position changes beat a long stationary kneel every time.
The side handles on the Worth Garden unit are not decoration. They are the practical reason to use a kneeler instead of a bare pad. I use them every time I shift position and every time I stand up. Standing up straight from a garden kneel without handle support is one of the most knee-unfriendly moves in gardening, especially after a 30-minute session.
Step 4: Break Your Session Into Intervals
No amount of good equipment overrides staying in the same position for two hours straight. I aim for 20 minutes of kneeling work, followed by five minutes of standing or walking, then back to kneeling. That sounds overly structured until you realize most garden tasks are naturally interval-friendly. You kneel to pull weeds, stand to walk to the compost bin, kneel to plant the next section, stand to fill the watering can. If your tasks do not build in standing breaks naturally, set a phone timer.
On days when I am doing extended bed work, transplanting 30 or 40 seedlings in one session for example, I use the bench position of the kneeler as my rest position rather than fully standing and sitting on a separate chair. Flip the unit to its bench legs, sit for five minutes while I work at bed height with a trowel, then flip it back to the pad and kneel again. This keeps me at the work without the up-down energy cost and keeps my knees in a more neutral position between kneeling bouts.
The first time I used the kneeler's bench position to sit through a transplanting session, I finished 38 tomato seedlings without once having to stop because my knees told me to. That had not happened in three years of gardening.
Step 5: Cool Down and Decompress After the Session
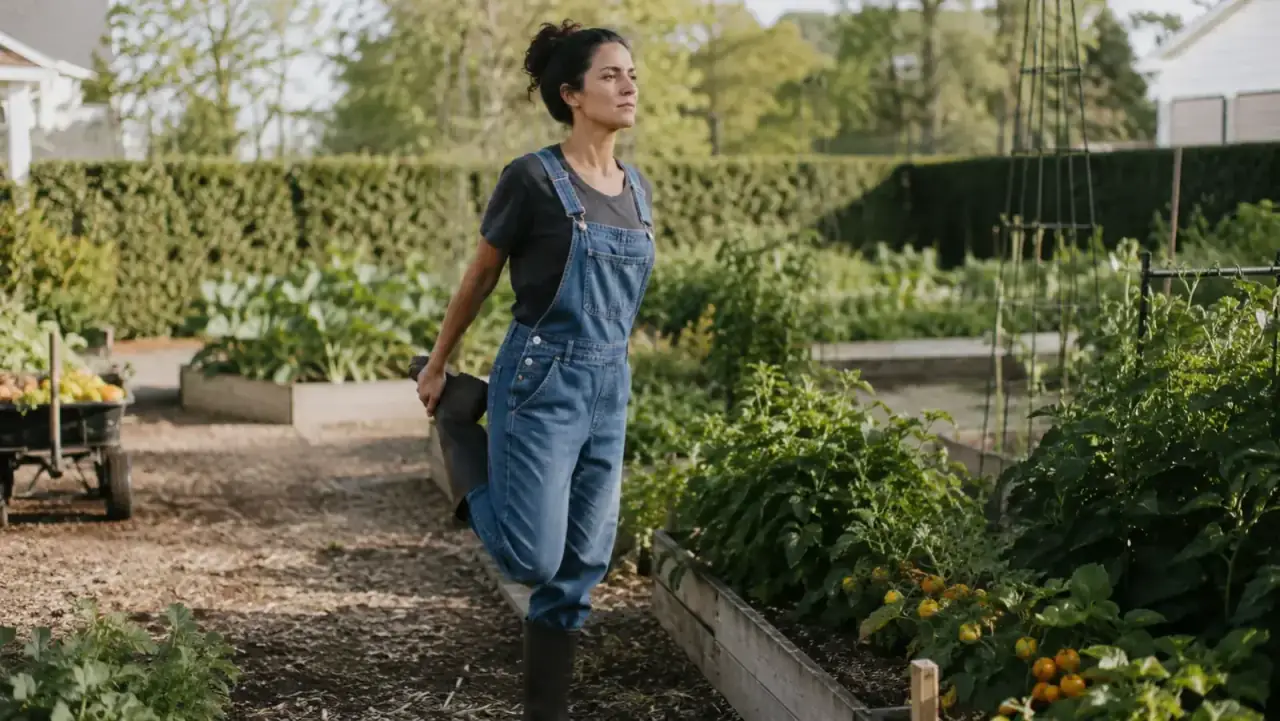
Knee joints that have been bearing your weight while flexed for an extended time need a deliberate cool-down. When I finish a session, I do not go straight from kneeling to sitting in a chair. I take a slow five-minute walk around the yard. This moves the synovial fluid back through the joint, clears some of the lactic acid buildup in the surrounding muscles, and keeps the joint from stiffening quickly. It sounds minimal but the difference in next-morning stiffness is real.
After the walk, I do a standing quad stretch, holding each leg for 30 seconds, and a seated hamstring stretch on the porch steps. If my knees feel warm or slightly swollen after an especially long session, I use a reusable gel pack for 15 minutes. That is the full routine. It takes under ten minutes and I credit it for keeping me gardening through a full season without having to take days off because of knee soreness.
What Else Helps
A few other things that contribute meaningfully to a pain-free season. Raised beds help more than most people realize. Working at 12 to 24 inches of elevation reduces the depth of the knee flex you need for most tasks, which means less pressure on the joint. If you garden at ground level exclusively, it is worth considering even a single raised bed for the crops that require the most kneeling, dense plantings of lettuce, carrots, herbs.
Shoe choice matters more than most gardeners acknowledge. Thin-soled garden clogs transfer ground-level vibration and give your feet no support during the standing intervals. A shoe with genuine arch support and a cushioned sole reduces fatigue in the calves and knees over a long session. I wear standard trail-running shoes in the garden. Not glamorous, but they cover more miles than any garden clog I have tried.
If you want to go further, a knee compression sleeve worn during sessions can reduce swelling for gardeners with mild arthritis or previous injuries. It does not fix bad mechanics, but it provides proprioceptive feedback that reminds you to keep better position. A sleeve plus a good kneeler plus the session-interval habit covers most of what the evidence on joint-friendly physical activity actually supports.
The Worth Garden Kneeler and Seat handles the core of what most home gardeners need: a padded kneeling surface, a bench for rest positions, handles for supported transitions, and tool pouches on the side so your trowel and gloves are always within reach. At its price point, it is the cheapest effective intervention in this whole system. The warm-up and cool-down cost nothing. The interval habit costs nothing. The kneeler is the one piece of hardware in this list and it pays off starting the first session you use it.
Ready to finish a full gardening session without your knees making the call for you?
The Worth Garden Kneeler and Seat is what I reach for every single time I go out. Thick foam pad, solid bench position, handles for standing, tool pouches for convenience. Rated 4.7 stars by 7,000-plus buyers. Check today's price and see if it fits your season.
Amazon Check Today's Price on Amazon →